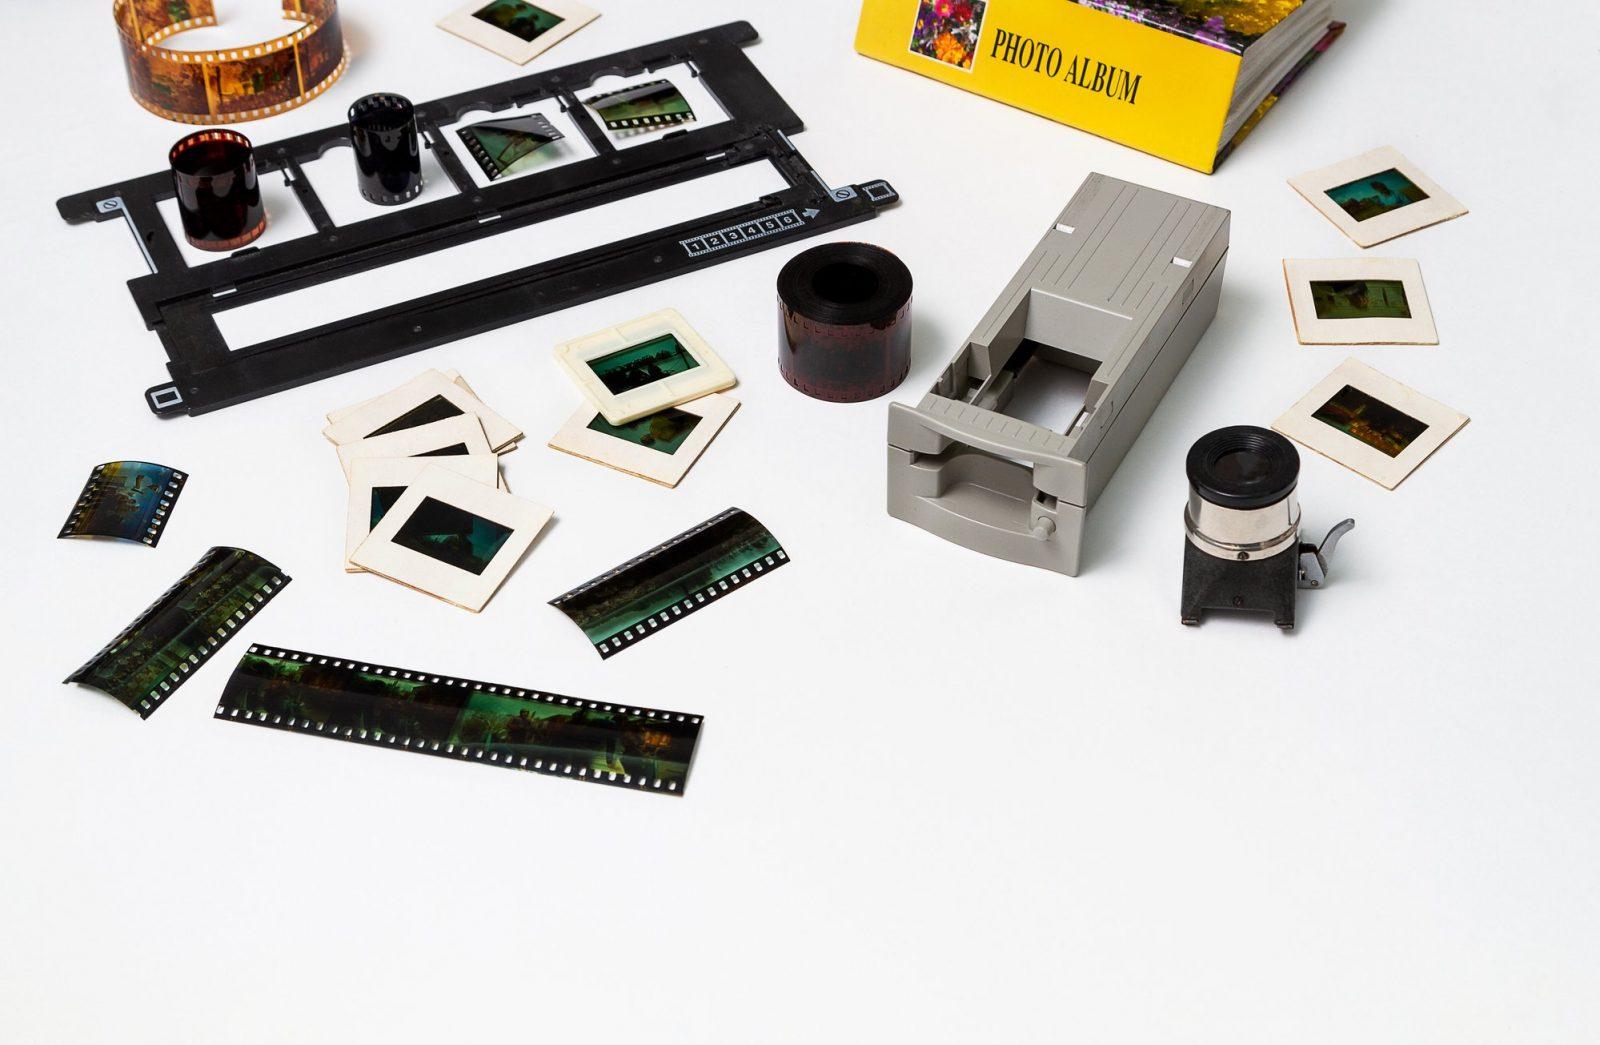
Slides and Negatives in your Photo Collection

Do you have slides and negatives in your photo collection? Are you unsure of what to do with them? Most photographers – pro and amateur alike – switched to digital in the early 2000s, so this format can appear ancient. But both 35mm color slides and 35mm negative film (both color and black + white) have been around since the mid-1920s. Slides and negatives may be the only existing copy of family images you have. They are also the originals. If you wish to view and preserve them, it helps to have a few tools.
Tools
Since you probably don’t need to scan everything, using these tools can help you decide which ones to scan.
• A photography loupe.This small but mighty magnifier allows you to see the detail in these small formats.
• A light box. This is a viewing table with backlighting. They come in flat or angled versions. We use the EZ View Slide Sorter which is angled, but the Huion L4S LED is an inexpensive choice for home use. Of course, you can also use an iPad in a pinch!
• The Negative Me app allows you to view negatives as positive images. The colors aren’t always exact, but it’s close enough.
Scanning Negatives
When we work with 35mm negatives, we scan at a high PPI (in combination with at least a 400% enlargement). This creates a richer, more detailed image. Scanning from negatives is ideal because the negative is the original source material, as previously noted. There is more leeway than with a print (which is the second generation).
Remember the Kodak Disc Camera from the early 1980s? The negatives were tiny! Because of that, they lack the information for a good quality print. The Disc camera fell out of favor for good reason. The prints were grainy and soft, and the colors were dull. I shudder to think how many important family photos exist from this source. But we can still scan from these negatives and yield better results than what you originally got from machine prints.
Contact Sheets
Before digital photography, I worked in a darkroom as a photographic printing technician. Since 35mm negatives were the most popular types of film, I spent much of my time creating contact sheets. This allowed clients to view the images in a grid on one sheet of paper before committing to individual prints. These days, digital versions are available. This makes it easy to choose which images to scan. If you only have 35mm negatives, this solution is a great way to address that issue.
Some older photo collections I’ve worked with have contained larger format negatives. These range from 120mm to 8×10″. Scanning these results in better images since they are larger than 35mm film (larger format = more detail).
Scanning Slides
Slides are positive images and are usually housed in plastic or paper frames. They can be various sizes, though the most popular is the 35mm version. The best way to view slides is using the aforementioned loupe and lightbox. We use the same method of scanning slides as we do negatives. The beauty with scanning slides is that the original colors, which often fade or change over time, can be improved with software (we use Lightroom and Photoshop). We can also make digital contact sheets for slides, though that’s not as important as it is with negatives since they are in a positive format and easier to view.
Here’s an example of what you can do once you’ve had your slides scanned.
Need more guidance? We’re here to help you manage, organize and preserve your photo collection.
Recent Posts
Archives
- February 2024
- January 2024
- December 2023
- November 2023
- October 2023
- September 2023
- July 2023
- June 2023
- March 2023
- February 2023
- January 2023
- October 2022
- September 2022
- August 2022
- July 2022
- May 2022
- March 2022
- February 2022
- December 2021
- June 2021
- April 2021
- February 2021
- December 2020
- November 2020
- October 2020
- September 2020
- August 2020
- June 2020
- May 2020
- April 2020
- February 2020
- January 2020
- December 2019
- November 2019
- August 2019
- July 2019
- June 2019
- May 2019
- April 2019
- March 2019
- February 2019
- January 2019
- November 2018
- September 2018
- July 2018
- May 2018
- March 2018
- February 2018
- December 2017
- November 2017
- September 2017


