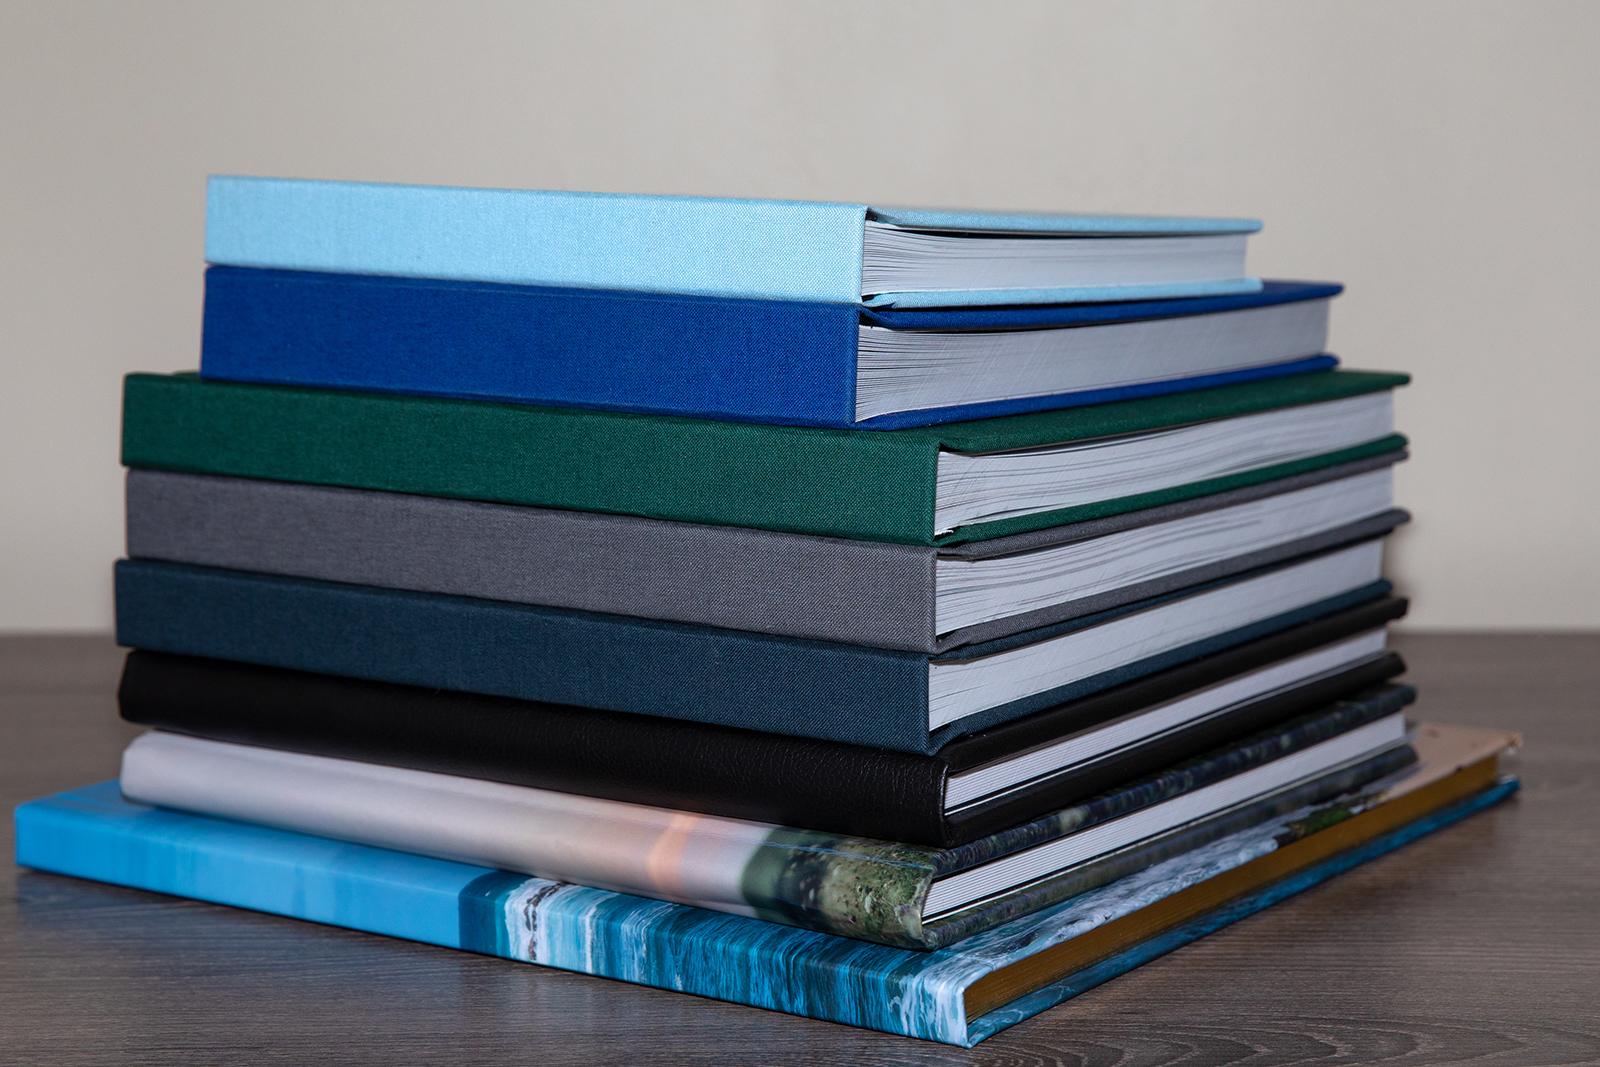
Making Photo Books: 6 Simple Tips to Get Started

Making photo books is one of our favorite things to do – for ourselves and our clients.
If you like to cook, you understand the value and importance of mise en place before you start. The same approach applies to making photo books. Having your images organized makes selecting them quicker and easier.
Whether or not your photo collection is organized, these tips should help!
Gather any material such as old photos, documents, slides, negatives, and memorabilia. Have these scanned (as high res files, minimum of 300 dpi at the size they’ll be printed) and add them to your digital collection. They will help give context and resonance to any photo book.
- Choose a theme. Are you focusing on a specific event, such as a vacation, a birthday, person, pet, or a specific year? Are you recreating a print photo album? Or creating a family cookbook? This will help you narrow down and edit the images you’ll be using.
- Decide on the budget, style, size and page count. Generally, the bigger the book and the more pages, the more expensive. The same goes for paper quality, cover material, and binding (lay flat vs traditional). We opt for 10 x 10″. The square format allows the layout to stay the same – no redesigning necessary – if you decide to go larger (say, to a 12 x 12″) or smaller (8 x 8″) etc.
- Choose a good vendor. We work with the printers that professional photographers use, such as Miller’s Professional Imaging. But there are many high quality consumer-facing publishers out there. Blurb, Printique, Artifact Uprising, MPix, and Zno are a few we recommend. Some printers require you to use their software, others do not. Choose what works for you and your level of comfort with technology.
- Decide if you want text. We recommend adding at least the year(s) and/or locations somewhere in the book. Consider including more descriptive text, such as the stories a specific photo sparks. Or caption images with names, places and specific dates. This will help viewers connect with the images on a deeper level. Memories fade but text can help keep the photos relevant and engaging.
- Review your digital images. Consider lighting, crop, and contrast of each image. Photo editing software such as Photoshop and Lightroom Classic are great tools if you need to enhance photos. Make sure your images look their best, as they will be printed and subject to repeat viewings. Quality counts, so edit with an eye to what works. Soft, low-res, blurry or pixellated images should not make the cut.
- Cull your images. Not every single image needs to be in your book. Some will work better as a spread, some look better grouped together. Don’t be afraid of negative space – it helps the eye move across the page and adds elegance to your book.
The most important aspect of creating a photo book is enjoyment. While the prep work and process can take time and effort, this should be a labor of love and an outlet for your creativity. With practice, your design skills and sense will grow and so will your enjoyment. And remember, perfection isn’t the goal. But a beautiful tribute in book form is.
If you need assistance making photo books, or with any photo-related project please contact us. We’re here to help!
Recent Posts
Archives
- February 2024
- January 2024
- December 2023
- November 2023
- October 2023
- September 2023
- July 2023
- June 2023
- March 2023
- February 2023
- January 2023
- October 2022
- September 2022
- August 2022
- July 2022
- May 2022
- March 2022
- February 2022
- December 2021
- June 2021
- April 2021
- February 2021
- December 2020
- November 2020
- October 2020
- September 2020
- August 2020
- June 2020
- May 2020
- April 2020
- February 2020
- January 2020
- December 2019
- November 2019
- August 2019
- July 2019
- June 2019
- May 2019
- April 2019
- March 2019
- February 2019
- January 2019
- November 2018
- September 2018
- July 2018
- May 2018
- March 2018
- February 2018
- December 2017
- November 2017
- September 2017


